Introduction of PlayStation Playout 2.0
PlayStation Playout is an emerging concept in the world of digital content creation, gaming media management, and live broadcasting workflows. Whether you are a streamer, content creator, or media professional, understanding how PlayStation Playout works can help you organize, edit, and deliver high-quality gaming content efficiently. From importing gameplay clips to applying effects and exporting polished outputs, this workflow bridges the gap between gaming and professional media production.
In this guide, you’ll learn how to use PlayStation Playout step by step, along with its best use cases, advantages, limitations, and alternatives. This beginner-friendly yet informative article is designed to help you get started quickly while improving your overall content quality.
Step 1: Create a New Project
The first step in using PlayStation Playout is setting up a new project. This step lays the foundation for your entire workflow and ensures everything is organized from the start.
When creating a project, you typically define settings such as resolution (1080p or 4K), frame rate, and output format. These settings should match your original gameplay recordings for the best results. Proper project setup helps maintain video quality and avoids issues during export.
It’s also recommended to name your project clearly and organize folders for clips, audio, and assets. This approach improves efficiency, especially when working on multiple gaming videos or streaming highlights.
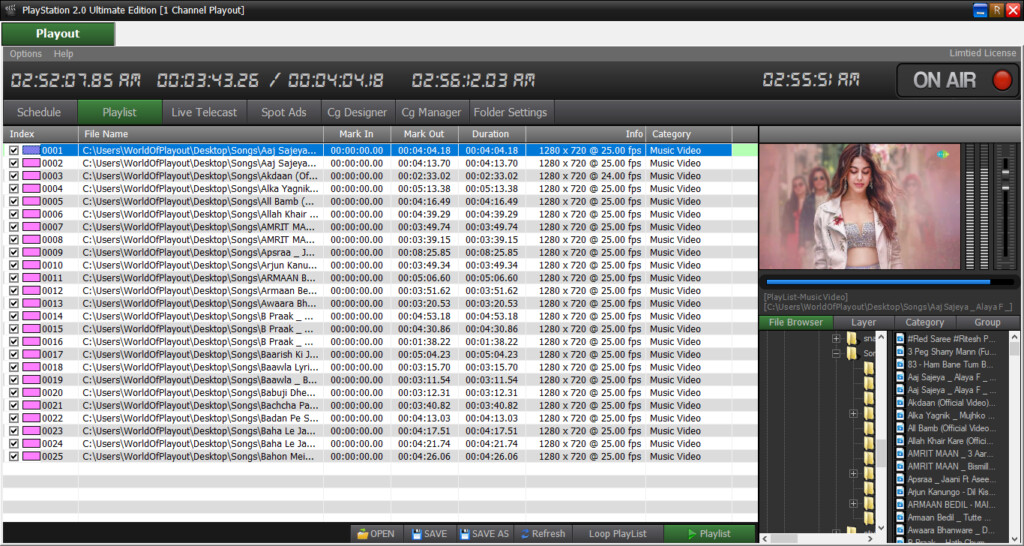


Step 2: Import Media / Setup
Once your project is ready, the next step is importing your media files. In PlayStation Playout, this usually includes gameplay recordings, audio commentary, overlays, and background music.
Importing media is straightforward. You can drag and drop files or use the import menu to load content into your workspace. Organizing files into categories—such as gameplay clips, sound effects, and graphics—makes editing much smoother.
Additionally, ensure that your media files are compatible with your project settings. Matching resolution and frame rate prevents lag or rendering issues later. A well-prepared media setup significantly speeds up the editing and production process.
Step 3: Main Workflow (Editing / Design)
The core of PlayStation Playout lies in its editing and design workflow. This is where your raw gameplay transforms into engaging content.
Start by placing your clips on the timeline in the desired sequence. Trim unnecessary sections, cut out mistakes, and align audio with video. Smooth transitions between clips help maintain viewer engagement.
You can also enhance storytelling by adding commentary tracks or subtitles. Timing is crucial here—well-synced audio and visuals create a professional viewing experience. This stage is all about shaping your content into a cohesive and compelling narrative.
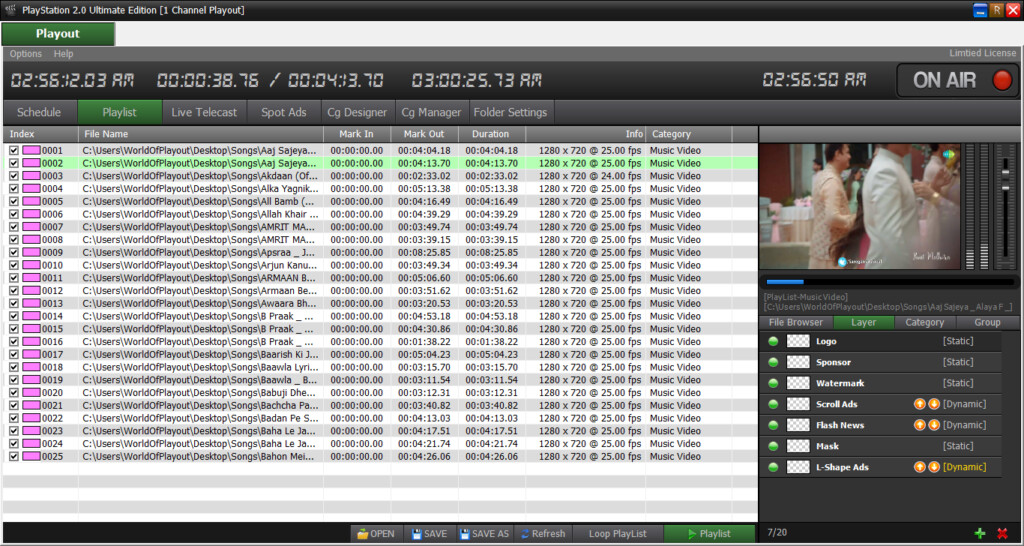
Step 4: Add Features (Effects / Tools / Customization)
After basic editing, it’s time to enhance your project using advanced features. PlayStation Playout supports various tools that help elevate your content quality.
You can apply visual effects such as color correction, motion graphics, and overlays to make your videos more appealing. Adding sound effects and background music improves immersion, especially for gaming highlights or walkthroughs.
Customization options like branding elements, logos, and lower-thirds allow creators to build a unique identity. These features are essential for streamers and YouTubers looking to stand out in a competitive space.
Step 5: Export / Save Output
The final step is exporting your project into a shareable format. PlayStation Playout typically offers multiple export options depending on your needs.
Choose the appropriate resolution and format based on your platform. For example:
-
1080p for general uploads
-
4K for high-quality YouTube content
-
Optimized formats for streaming platforms
Before exporting, review your project to ensure everything is properly synced and rendered. A clean export ensures your content looks professional and performs well across different devices and platforms.
Best Use Cases for PlayStation Playout
PlayStation Playout is versatile and suitable for various content creation scenarios. Some of the most common use cases include:
-
Gaming Content Creation: Perfect for editing gameplay videos, walkthroughs, and highlights
-
Live Streaming Support: Helps manage and prepare clips for streaming platforms
-
Esports Content Production: Ideal for creating professional esports recaps and montages
-
Social Media Clips: Useful for short, engaging gaming clips on platforms like TikTok and Instagram
-
Tutorial Videos: Great for creating step-by-step gaming guides
Its flexibility makes it a valuable tool for both beginners and experienced creators.
Advantages and Limitations
Advantages
PlayStation Playout offers several benefits that make it appealing to creators:
-
User-friendly workflow suitable for beginners
-
Supports high-quality video formats, including 4K
-
Flexible editing and customization options
-
Efficient media organization and project management
-
Ideal for gaming-focused content production
These advantages make it a strong choice for those looking to streamline their content creation process.
Limitations
Despite its strengths, PlayStation Playout download also has some limitations:
-
May require a powerful system for smooth performance
-
Limited advanced features compared to high-end professional tools
-
Learning curve for complete beginners in video editing
-
Compatibility issues with certain file formats in some cases
Understanding these limitations helps users set realistic expectations and choose the right workflow for their needs.
Alternatives to PlayStation Playout
If PlayStation Playout doesn’t fully meet your requirements, there are several alternatives available. These tools offer different features and capabilities depending on your goals:
-
Adobe Premiere Pro: Advanced editing with professional-grade tools
-
Final Cut Pro: Optimized for macOS users with fast performance
-
DaVinci Resolve: Excellent for color grading and high-end editing
-
OBS Studio: Ideal for live streaming and basic recording
-
Filmora: Beginner-friendly with built-in effects and templates
Each alternative has its own strengths, so the best choice depends on your experience level and project complexity.
Frequently Asked Questions (FAQs)
What is PlayStation Playout used for?
PlayStation Playout is used for managing, editing, and exporting gaming content, especially gameplay videos and streaming clips.
Is PlayStation Playout beginner-friendly?
Yes, it is designed to be accessible for beginners while still offering useful features for experienced creators.
Can I use PlayStation Playout for 4K videos?
Yes, it supports high-resolution formats, including 4K, depending on your system capabilities.
Does PlayStation Playout support live streaming?
While primarily focused on media workflow, it can complement live streaming setups by preparing and managing content.
What platforms are best for exporting PlayStation Playout content?
You can export content for platforms like YouTube, Twitch, and social media channels.
Conclusion
PlayStation Playout is a practical and efficient solution for anyone involved in gaming content creation. From project setup to final export, it offers a streamlined workflow that simplifies the production process. Its combination of ease of use and customization makes it suitable for beginners while still providing enough flexibility for more advanced users.
Although it has some limitations, its strengths in media organization and editing make it a valuable tool in the gaming industry. Whether you’re creating YouTube videos, streaming highlights, or esports content, PlayStation Playout can help you produce professional-quality results with minimal hassle.